

Why most beginner flat lays fail (and how to fix them in one session)
A flat lay looks simple: point the camera straight down, arrange a few objects, shoot. Yet the first attempts usually come back with the same three problems: a hard shadow cutting across the frame, a background that looks grey and dirty, and props that feel randomly scattered. None of those issues are about gear. They come from camera height, light direction and spacing, and all three can be fixed with repeatable rules.
At Acanthus Design Interiors we shoot overhead compositions constantly: fabric swatches, tile samples, material boards, tabletop styling and finished accessory vignettes. The flat lay photography tips below are the exact checklist we use at home or on site, with nothing more complex than a window, a white board and a phone or a tripod. sharonhollanddesigns.com goes into the numbers.

What you actually need: a minimal flat lay kit
| Item | Why it matters | Budget option |
|---|---|---|
| Steady overhead support | Keeps the sensor parallel to the surface, avoids keystone distortion | Chair or stepladder, phone braced with both elbows on a table |
| Diffused daylight | Soft shadows, accurate colour, no mixed colour temperature | A window plus a white sheer curtain or baking paper |
| Bounce card | Lifts shadow density on the dark side of objects | White foam board or a sheet of A3 card |
| Clean background surface | Stops texture noise and colour casts | Matte white board, linen offcut, plaster sample board |
| Museum putty or double-sided tape | Holds curled paper, ribbons and light props in place | Blu Tack, rolled tape loops |
Step 1: Get the camera height and angle right
Before styling anything, lock the shooting position. A flat lay is defined by a perfectly perpendicular camera angle: the lens axis at 90 degrees to the surface. Anything off by a few degrees reads as a slightly tilted, amateur shot.
How high should the camera be?
- Small arrangements (one to three objects): 40 to 60 cm above the surface.
- Medium scenes (a tray, a material board, a place setting): 70 to 100 cm.
- Large scenes (full tabletop, textile layout, clothing): 120 to 180 cm, often from a stepladder.
Rather than memorising numbers, use this rule: raise the camera until there is a clean margin of background on all four sides, then stop. Zooming in digitally to crop out clutter is not the same thing; move the camera instead.
Keeping the camera parallel
- Turn on the grid and level indicator in your camera or phone app. On most phones the level appears as two crosshairs that merge when you are flat.
- If you use a tripod with a horizontal arm, counterweight the opposite leg so nothing drifts mid-shoot.
- Shoot with a 2 second timer or a remote so you never touch the device during exposure.
- On a phone, avoid the ultra wide lens. Use the main lens, or the 2x/3x telephoto if you have space above the scene. Wide lenses stretch objects near the edges.
On a camera, a focal length between 35 mm and 85 mm equivalent gives the flattest, most honest rendering. Aperture around f/5.6 to f/8 keeps every object in the plane sharp.

Step 2: Use diffused window light and control the shadow direction
The most useful of all flat lay photography tips: one large soft light source beats five small ones. Ceiling spots, a table lamp and daylight all firing at once will produce crossed shadows and mismatched colour. Switch off the room lights and work with a single window.
The window setup
- Place the scene beside the window, not directly under it, so light travels across the objects rather than straight down.
- Hang a white sheer curtain, tracing paper or a shower curtain over the glass to spread harsh sun into soft light.
- Position a white bounce card on the opposite side, roughly 20 to 40 cm away, angled toward the shadows. Move it closer to lighten shadows, further away to deepen them.
- Shoot on a bright overcast day if you can. Overcast light is a free giant softbox.
- Let the shadows fall in one consistent direction, ideally away from the hero object and toward the bottom or the corner of the frame.
Shadow control cheat sheet
| Problem | Cause | Fix |
|---|---|---|
| Hard black shadow edges | Direct sun or a bare bulb | Add a diffuser over the window, or move to a north facing room |
| Shadows in two directions | Mixed daylight and ceiling light | Turn off all artificial light, keep one source only |
| Flat, lifeless image | Light hitting the scene head on with too much fill | Pull the bounce card back so some shadow returns |
| Grey or dingy white background | Underexposure, camera metering for the bright board | Add +0.7 to +1.3 EV exposure compensation |
| Colour cast on the background | Bounce off a coloured wall, rug or curtain | Block with a white card, or set a custom white balance |
| Your own shadow in the frame | Standing between the light and the set | Shoot from the shadow side, use a timer and step back |
The 8 styling rules for clean flat lay compositions
Once the camera and light are locked, styling is where the image is won. These eight rules are deliberately mechanical, so you can repeat them on any subject.
Rule 1: Choose one hero and build around it
Every strong flat lay has a single subject: the tile sample, the book, the watch, the folded throw. Place the hero slightly off centre, then treat everything else as supporting cast. If two objects compete for attention, remove one.
Rule 2: Start with a clean, matte, neutral background
Glossy surfaces reflect the window and the lens. Choose matte: painted board, unvarnished timber, linen, plaster, raw paper. Neutral backgrounds (off white, warm grey, greige, sand) keep colours honest. Iron or steam fabric backgrounds first, because creases read as dark lines from above.
Rule 3: Keep object heights within a narrow range
Flat lays are two dimensional by nature. When one object is far taller than the rest it goes soft, throws a long shadow and distorts at the frame edge. Aim for objects within roughly the same 3 to 5 cm height band, and raise low items with a hidden coin or piece of card if you want gentle depth.
Rule 4: Set a consistent prop spacing gap
This is the rule that separates tidy from chaotic. Decide on one gap, for example one to two finger widths between elements, and keep it consistent across the whole layout. Overlap only when it is intentional and repeated, such as a stack of swatches or a fanned set of samples. Random half overlaps look like an accident.
Rule 5: Protect the negative space
Leave roughly 30 to 40 percent of the frame empty. Negative space is what makes the background read as clean rather than crowded. Keep a clear margin around the edge too, so a square crop for social media never cuts an object in half.
Rule 6: Group in odd numbers and triangles
Three, five or seven elements read better than even sets. Then place matching colours or textures at the points of a triangle so the eye travels around the frame instead of stopping. Repeating one accent colour in three spots is the fastest way to make a random pile look designed.
Rule 7: Limit the palette to three colours plus texture
Two neutrals and one accent is plenty. Interest should come from texture contrast: boucle against marble, matte ceramic against brushed brass, raw linen against lacquer. This is exactly how a material board is built, and it photographs the same way.
Rule 8: Shoot, review, subtract, repeat
Take a frame, look at it on screen rather than on the table, then remove one element and shoot again. Nine times out of ten the second version is stronger. Rearranging aggressively is normal: professionals shoot dozens of variations of one setup.
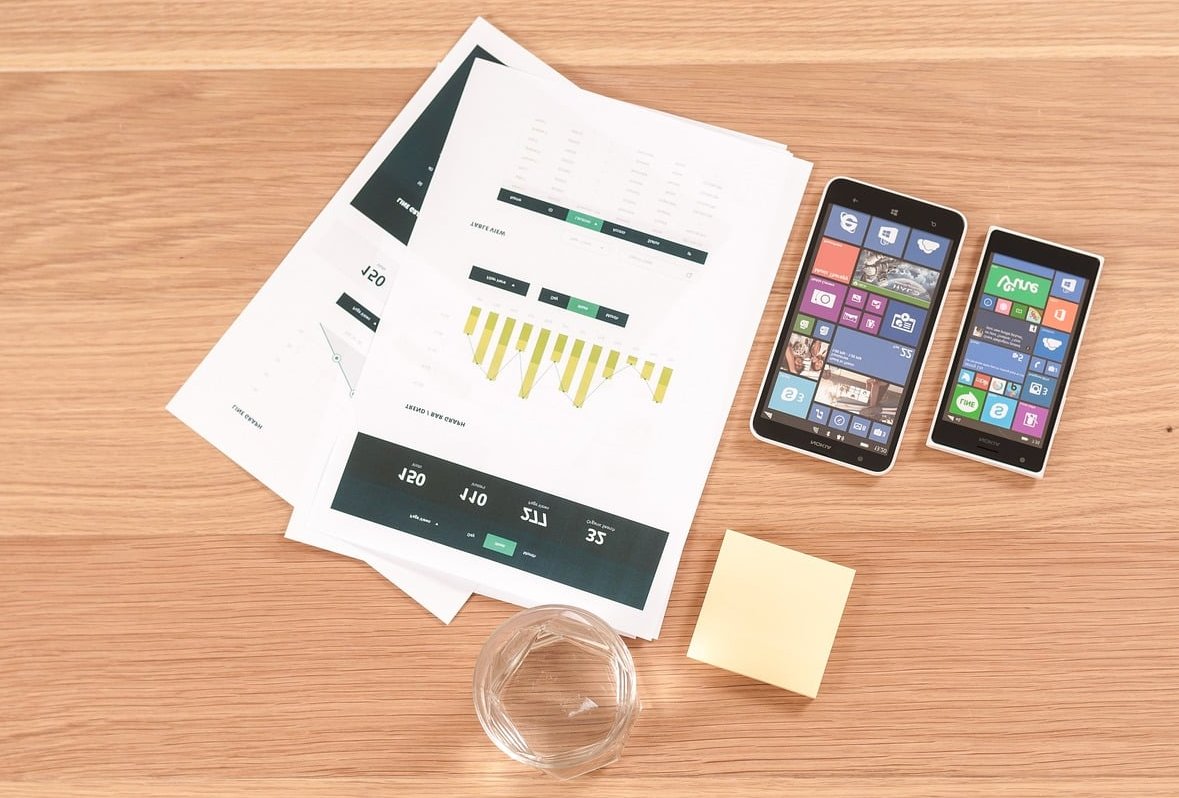
Phone setup vs tripod setup: which to use
| Factor | Phone handheld | Tripod with horizontal arm |
|---|---|---|
| Setup time | Seconds | 5 to 10 minutes |
| Repeatability | Low, framing shifts every shot | High, ideal for series and catalogues |
| Hands free styling | No | Yes, adjust props while previewing |
| Low light performance | Limited, blur risk | Excellent, long exposures possible |
| Best for | Quick social posts, site visits | Product sets, material boards, client presentations |
If you have no tripod arm, a simple workaround: place the scene on the floor and stand over it with your arms locked and phone braced against a chair back. Floor level gives you all the vertical distance you need.
A repeatable 10 minute flat lay workflow
- Switch off all artificial lights. Open the curtain, add the diffuser.
- Lay the background board beside the window, wipe off dust and lint.
- Set the camera overhead, level it, frame the empty background and check the margins.
- Place the hero object slightly off centre. Shoot one reference frame.
- Add supporting props in an odd number, respecting your spacing gap.
- Add the bounce card opposite the window, check shadow density.
- Dial exposure compensation up until the background is bright but not blown.
- Shoot. Then remove one prop and shoot again.
- Rotate the whole layout 90 degrees and shoot a second angle for variety.
- Take one extra vertical and one square crop for different platforms.

Common flat lay photography mistakes to avoid
- Shooting at an angle instead of straight down, which bends rectangular objects.
- Using the ultra wide phone lens, stretching props at the edges.
- Mixing light sources, producing crossed shadows and green or orange casts.
- Overfilling the frame, with no breathing room left for the eye or for crops.
- Ignoring wrinkles, crumbs and lint, which are invisible in person and obvious from above.
- Letting the flash fire, which flattens texture and creates a hot spot.
- Cropping through objects at the frame edge without a deliberate reason.
- Forgetting to lock focus and exposure before the timer runs, so each frame is different.
Light editing for clean backgrounds
Editing should be corrective, not cosmetic. A short, consistent recipe:
- White balance: set from a neutral point in the scene, or from the white bounce card.
- Exposure and whites: raise until the background is clean, stopping before texture disappears.
- Shadows: lift gently, around +10 to +20, to keep shadows soft rather than muddy.
- Clarity and texture: a small positive amount on fabrics and stone, none on skin or glossy ceramics.
- Spot removal: remove dust, threads and stray fibres last.
- Save a preset so a whole series matches. Consistency across a grid matters more than any single image.
Applying flat lays to interiors work
For designers, decorators and anyone documenting a home, the overhead frame is the most efficient storytelling tool available. Useful subjects include:
- Material boards: paint chips, stone, timber, metal finishes and textiles arranged in a repeated grid.
- Textile pairings: upholstery next to trim and cushion fabric, to show scale and texture relationships.
- Tabletop scenes: place settings, linen, glassware and a single stem.
- Before and after swatch progressions: the same layout shot at each revision.
- Accessory vignettes: trays, books, candles and objects styled in a triangle.
For material boards specifically, ignore Rule 6 and use a strict grid with a fixed gap. Grids communicate specification clearly, while triangles communicate mood. Decide which one the image is meant to do before you start styling.
FAQ
What are the most common flat lay photography mistakes?
Shooting off axis rather than straight down, mixing daylight with ceiling lights, filling every centimetre of the frame, and leaving dust, creases or lint on the background. All four are visible from above even though nobody notices them at eye level.
What is the 20 60 20 rule in photography?
It is a simple tonal balance guideline: roughly 20 percent of the frame in deep shadow, 60 percent in midtones, and 20 percent in highlights. For flat lays it is a useful check, because most beginner images end up at 0 percent shadow and 100 percent midtone, which is why they look flat. Keeping a small amount of genuine shadow under the objects restores depth.
How do I get items to lay flat for a photo?
Steam or press fabrics and paper, then weight the corners while they rest. For curled items use museum putty, small loops of double sided tape, or glass placed briefly on top to relax the material. Clothing should be smoothed from the centre outwards with a stuffing of tissue paper inside the sleeves and shoulders to hold shape.
Can you give an example of a good flat lay composition?
A classic three element layout: a stone sample as the hero placed slightly off centre, a folded linen swatch to its lower left, and a small brass handle to its upper right, all on a matte off white board with one finger width of space between each. The window sits to the left with a sheer curtain, a white card bounces light back from the right, and about a third of the frame stays empty.
What is the best time of day to shoot flat lays at home?
Mid morning or mid afternoon on an overcast day, when light is bright but not directional. Avoid strong midday sun through an uncovered window and avoid the last hour before sunset, when light turns warm and uneven.
Do I need a tripod for flat lay photography?
No, but it helps. A tripod with a horizontal arm frees both hands, guarantees identical framing across a series, and allows longer exposures in soft light. If you shoot only occasionally, bracing a phone above a floor level setup works well.
Final thoughts
The best flat lay photography tips are not about equipment, they are about discipline: one light source, a level camera, a consistent gap between props, and the willingness to remove elements until the composition breathes. Set the camera and light once, then spend your energy on styling. Do that five or six times and the setup becomes muscle memory.
Need help styling interiors that photograph as beautifully as they live? Acanthus Design Interiors works with materials, texture and light every day. Get in touch to discuss your project.