
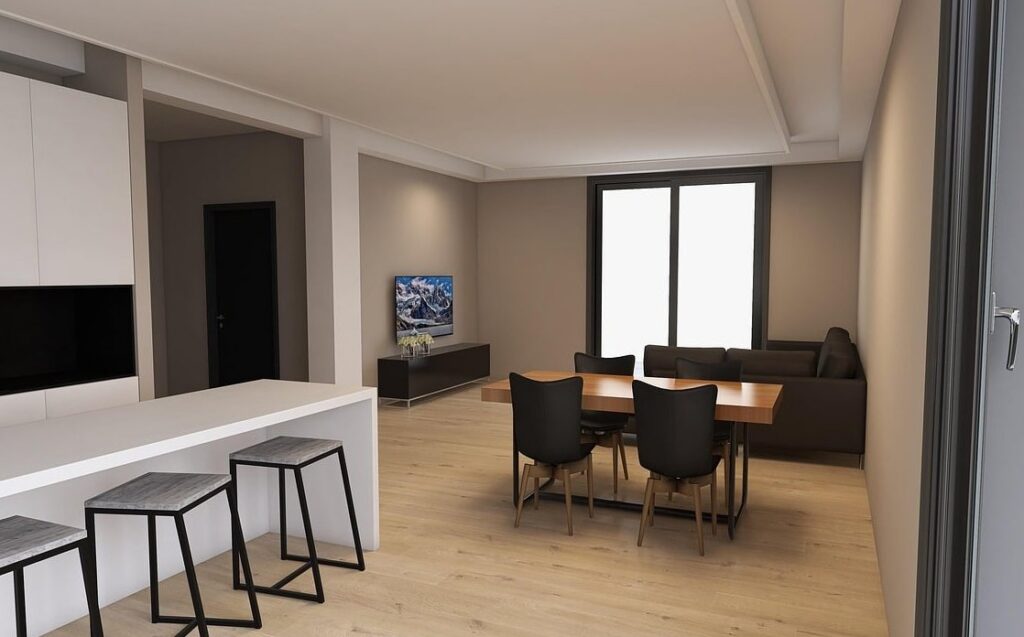
A hallway is the hardest room in the house to shoot. There is no space to step back, the walls squeeze the frame, the light is usually artificial and mixed, and a wide lens can turn a tidy corridor into a funhouse tunnel. Yet hallways matter: they are the first impression of a home, they connect every other photo in a portfolio, and clients always ask for them.
This guide explains how to photograph a hallway the way interior designers and architectural photographers do it, with repeatable framing rules rather than luck. You will find the focal lengths that work, the exact camera height to use, how to keep vertical lines perfectly straight, and how to light a corridor that has no windows at all.
Why Hallways Are So Difficult to Photograph
Before the tricks, it helps to understand what is actually going wrong in most hallway photos:
- No shooting distance. You cannot back up, so you are forced into very wide focal lengths.
- Edge distortion. Ultra-wide lenses stretch anything near the frame border: door frames, radiators, console tables, skirting boards.
- Converging verticals. Tilting the camera up or down makes walls lean inwards or outwards, which instantly reads as “amateur”.
- Dead ends. A blank wall at the end of a corridor gives the eye nowhere to go, so the image feels claustrophobic.
- Mixed lighting. Warm downlights, a cool daylight spill from an adjacent room and a yellow wall lamp all in one frame create ugly colour casts.
Every trick below solves one of these problems directly.
Trick 1: Shoot the Centre Line (One-Point Perspective)
The single most reliable hallway composition is central perspective: stand exactly on the middle axis of the corridor and shoot straight down it towards the opposite wall or doorway.
How to nail the centre line
- Measure or pace the width of the hallway and place the tripod on the exact middle point.
- Square the camera to the end wall so the back wall is perfectly parallel to the top and bottom of your frame.
- Turn on your camera’s grid overlay and check that the skirting boards on both sides converge symmetrically towards the centre.
- Use the electronic level (or a hot-shoe bubble level) for both pitch and roll. A one-degree tilt is visible in a corridor.
Symmetry does something clever: the brain reads a balanced, converging corridor as depth, not as narrowness. The vanishing point pulls the viewer in instead of pushing the walls together.
Pro tip: if the hallway is slightly off-square (older properties rarely are), prioritise aligning the camera to the end wall rather than to the side walls. The eye forgives an uneven side wall far more easily than a crooked destination.
Trick 2: Choose the Right Focal Length (Wide, Not Ultra-Wide)
Most people reach for the widest lens they own. That is exactly why their hallway photos look warped. The honest answer to “how wide should I go?” is: as wide as necessary, never wider.
| Focal length (full-frame equivalent) | Best use in a hallway | Distortion risk |
|---|---|---|
| 35 mm | Detail shots, console table vignettes, looking through a doorway | Very low |
| 24 mm | The sweet spot for most corridors over 1.1 m wide | Low, easily corrected |
| 20 mm | Tight corridors, short hallways, shooting from a doorway | Moderate at frame edges |
| 16 mm | Last resort only, or deliberate dramatic tunnel shots | High, stretched edges |
| 12 to 14 mm | Avoid for design portfolios | Severe |
On an APS-C body, aim for 16 mm to 18 mm; on Micro Four Thirds, 12 mm to 14 mm. On a recent smartphone, use the main 1x camera and only switch to the 0.5x ultra-wide when the corridor is genuinely too tight, because the ultra-wide module is where the stretching happens.
How to use a wide lens without the distortion
- Keep objects away from the frame edges. Distortion is strongest in the outer 15% of the image. If a radiator or vase is stretching, recompose rather than fix it later.
- Shoot a little wider and crop in. Framing with 5 to 10% of breathing room lets you crop out the worst corners and still deliver a clean 3:2 or 4:5 image.
- Enable lens profile corrections in Lightroom, Capture One or your phone’s RAW editor. This removes barrel distortion before you start straightening anything.
- Avoid placing people, pets or circular objects near the edges. Round shapes reveal distortion faster than anything else.
- Stop down to f/7.1 to f/11. Wide lenses need depth of field from the foreground console all the way to the end door.
Trick 3: Lock the Camera Height and Keep Verticals Perfectly Straight
This is the detail that separates a professional interior shot from a holiday snap. If the camera is tilted even slightly up or down, the walls and door frames converge and the hallway looks like it is collapsing.
The camera height rule
For hallways, set the lens at 125 cm to 145 cm from the floor (roughly 50 to 57 inches). That is around chest height for an adult and is the standard “interior height” used in architectural work.
| Camera height | Effect on the hallway |
|---|---|
| 90 to 110 cm | Emphasises floor, runner and rug; makes ceilings feel taller; good for low-ceiling corridors |
| 125 to 145 cm | Balanced, natural, the default for most hallway photos |
| 160 cm and above | Flattens the floor, shortens the corridor, rarely flattering |
Three ways to keep verticals straight
- Level the camera physically. Tripod, electronic level, zero tilt. Whatever is above or below the frame simply stays out of it.
- Shoot high and crop down. Keep the camera level but compose with extra ceiling, then crop the bottom. This is how you include a feature ceiling light without tilting up.
- Use a tilt-shift lens if you own one. Shifting the lens up moves the framing without moving the sensor plane, so verticals stay mathematically parallel.
In post-production, the Vertical or Guided transform tool in Lightroom will fix small deviations, but it always crops into your frame, so shoot slightly loose.
Trick 4: Give the Eye a Destination (The Focal Point Rule)
A corridor photo fails when it leads nowhere. The fix is to build a deliberate focal point at the end of the hallway and let the converging lines deliver the viewer straight to it.
Good end-of-hallway focal points
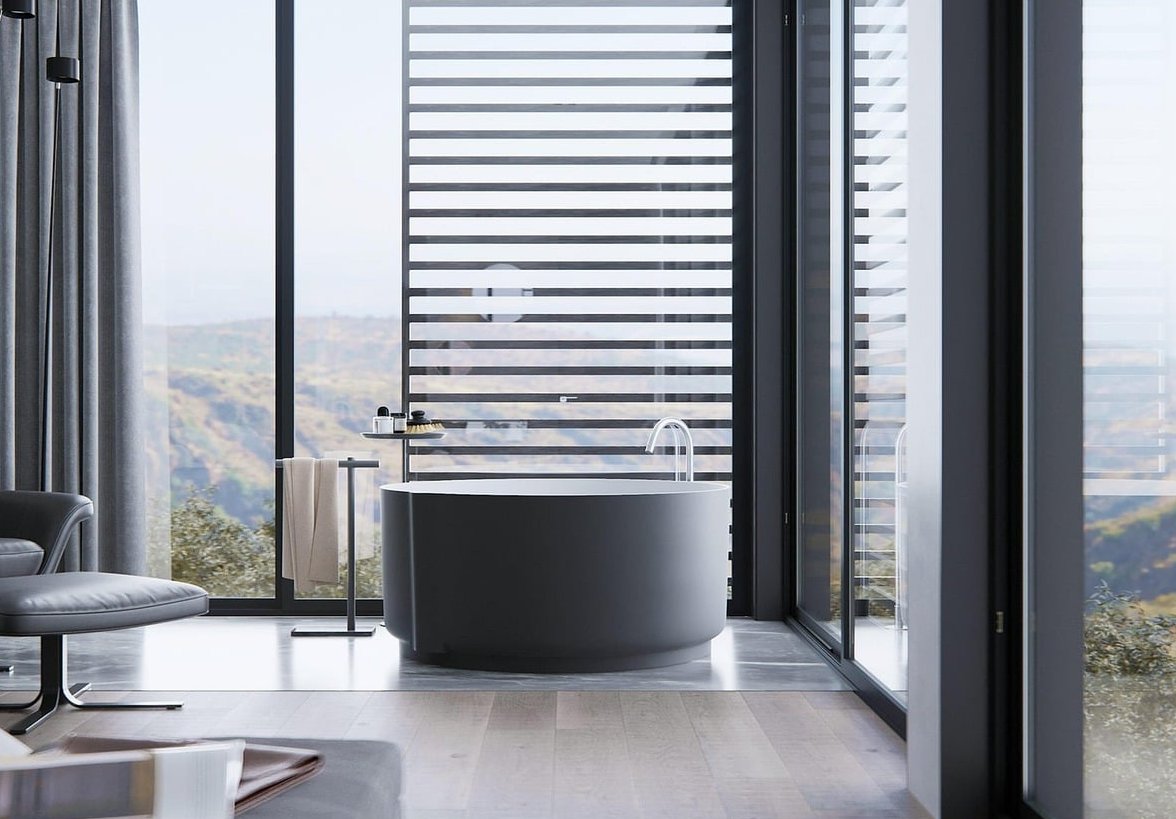
- An open doorway revealing a sunlit room beyond (the strongest option, because it adds a second layer of depth)
- A window at the end of the corridor
- A single large artwork or mirror, centred and lit
- A console or demi-lune table with a lamp, a stack of books and one sculptural object
- A painted accent wall or wallpapered end panel
- A staircase, newel post or arch
Doorway framing deserves its own mention. Shooting from inside an adjacent room, through the door frame and into the hallway, gives you a natural dark border that makes the corridor behind it feel deeper and more inviting. It also solves the “no room to step back” problem, because the extra metre or two behind the doorway lets you use a longer, less distorted focal length.
Layering for depth
Build the frame in three planes:
- Foreground: a door frame edge, the corner of a console, a plant leaf or the start of a runner rug.
- Middle ground: the corridor walls, art, lighting and doors.
- Background: the focal point, ideally brighter than the middle ground.
Three planes read as depth. One plane reads as a flat, narrow tunnel.
Trick 5: Break the Symmetry Deliberately (The Two-Point Alternative)
Not every hallway has a beautiful end wall. When the destination is a bathroom door or a fuse box, central perspective only emphasises it. The fix is to switch to two-point perspective: step to one side, angle the camera into a corner or towards a feature wall, and let the hallway run diagonally out of the frame.
Rules for a clean two-point hallway shot:
- Keep the camera perfectly level so verticals stay parallel, even though the horizontals converge.
- Place the strongest vertical line (a corner, a door jamb) near a third of the frame, not dead centre.
- Let one wall dominate about 60% of the frame and the other 40% to avoid an ambiguous composition.
- Use this angle for the wall-detail shots: the hook rail, the gallery wall, the bench, the sconce.
A good hallway set usually contains one hero central-perspective image, one doorway-framed image and two or three detail shots.
How to Light a Hallway With No Windows
Windowless corridors are the real test. There is no natural light to shape the space, and the built-in ceiling lights usually create hot pools on the floor and dark walls in between.
Step 1: Control the colour
Mixed colour temperatures are the number one reason hallway photos look muddy. Either:
- Switch all the practical lights on and shoot at a single white balance (around 2800 to 3200 K for warm bulbs), or
- Switch them all off and light the corridor yourself with a single source, then turn them back on for one extra frame to blend in later.
If a daylight-filled room spills into the frame through an open door, consider closing that door slightly or blending two exposures so the spill does not go blue.
Step 2: Add bounced light, never direct flash
Direct on-camera flash flattens a corridor and creates a harsh shadow behind every object. Instead:
- Bounce a speedlight off the ceiling or a side wall from behind the camera, at around 1/4 power, to lift overall shadow detail.
- Use a single LED panel with a softbox placed just outside the frame, aimed at the wall rather than straight down the hallway.
- Feather the light so the brightest part falls on the middle of the corridor and it falls off gently towards the camera. Gradual falloff equals depth.
- Never light the end wall evenly from the front. It kills the sense of distance.
Step 3: Bracket and blend
On a tripod, shoot a 3 to 5 frame bracket at 1 or 2 stops apart. Blend manually with layer masks, or use a gentle HDR merge with the dehaze and clarity sliders kept low. The goal is a clean, natural corridor, not a glowing cave.
Step 4: Use mirrors and reflective surfaces
A mirror placed on a side wall doubles the apparent light and width of a hallway. When photographing, check the mirror from the exact camera position before you shoot so you do not capture yourself, your tripod or a lighting stand.
Recommended Camera Settings for Hallway Photography
| Setting | Recommended value | Why |
|---|---|---|
| Mode | Manual (M) | Consistent exposure across bracketed frames |
| Aperture | f/7.1 to f/11 | Front-to-back sharpness without diffraction |
| ISO | 100 to 400 | Clean shadows; a tripod handles the slow shutter |
| Shutter speed | Whatever the exposure needs (0.5s to 4s is normal) | Tripod plus 2 second timer or remote |
| White balance | Custom / Kelvin, not Auto | Keeps colour consistent across the whole set |
| Focus | Single point, about one third into the corridor | Maximises usable depth of field |
| File format | RAW | Essential for lens correction and perspective fixes |
| Aspect ratio | 3:2 or 4:5 vertical | Vertical framing suits tall, narrow spaces |
Style the Hallway Before You Press the Shutter
Photography cannot rescue an unstyled corridor. Spend ten minutes doing this first:
- Remove shoes, coats, post, cables and door stops that are not part of the design.
- Straighten every artwork frame and align the gallery wall spacing.
- Close or fully open doors consistently; half-open doors look accidental.
- Switch every bulb to the same colour temperature before the shoot day.
- Lay a runner rug if the floor is plain; its lines reinforce the perspective.
- Add one green element, usually a plant or branches on a console, to break the hard lines.
- Check reflections in mirrors, glass doors and polished floors from the camera position.
- Vacuum. Wide lenses and long exposures reveal every crumb and every footprint.
Post-Processing Checklist
- Apply the lens profile correction first.
- Fix verticals with the transform tool, then recheck the horizontals.
- Set white balance from a neutral surface, usually a white skirting board or door.
- Blend the bracketed exposures or lift shadows gently; keep contrast natural.
- Correct any remaining colour cast on the walls with targeted hue and saturation adjustments.
- Dodge the far focal point slightly and burn the near foreground to reinforce depth.
- Crop last, keeping the vanishing point centred in a central-perspective shot.
- Sharpen for output and export at a consistent size across the whole set.

Common Hallway Photography Mistakes to Avoid
| Mistake | Quick fix |
|---|---|
| Using the widest lens available by default | Start at 24 mm and only go wider if you genuinely must |
| Tilting the camera to include the ceiling light | Keep the camera level, shoot wider, crop the bottom |
| Standing slightly off the centre line | Measure the width and mark the floor with tape |
| Direct on-camera flash | Bounce off a ceiling or side wall behind you |
| Mixed warm and cool bulbs | Standardise bulbs or shoot separate exposures to blend |
| Empty, featureless end wall | Add art, a mirror, a lamp or open a door to a bright room |
| Over-processed HDR look | Keep clarity and dehaze low, blend exposures manually |
A Simple Hallway Shoot Workflow
- Style and declutter the corridor.
- Standardise and switch on all the lighting.
- Set the tripod on the centre line at 130 cm lens height, perfectly level.
- Compose the hero one-point perspective shot at 24 mm, with a focal point at the end.
- Bracket three to five frames.
- Move back through a doorway and shoot a framed version at 35 mm.
- Step to one side for two or three two-point perspective detail shots.
- Review on a tablet or laptop before packing up, checking verticals and reflections.
Frequently Asked Questions
What is the best lens for photographing a hallway?
A 24 mm full-frame equivalent is the best all-round choice. It is wide enough to show a narrow corridor without the heavy edge stretching of a 16 mm. Drop to 20 mm only in very tight hallways, and use 35 mm when you can shoot from a doorway or an adjoining room.
How do I make a narrow hallway look wider in photos?
Shoot from the exact centre line so both walls converge symmetrically, keep the camera level at chest height, add a bright focal point at the far end, use a runner rug to lead the eye, and place a mirror on a side wall. Lighting the far end slightly brighter than the near end also expands the perceived depth.
What camera height should I use for interior photos?
Between 125 cm and 145 cm from the floor for most interiors, including hallways. Lower heights of 90 to 110 cm work well when you want the ceiling to feel higher or when the flooring is a feature. Anything above about 160 cm flattens the space.
How do I stop walls from leaning in my hallway photos?
Leaning walls come from tilting the camera up or down. Keep the sensor plane perfectly vertical using a tripod and the camera’s electronic level, frame a little loose, and crop afterwards. If verticals still drift slightly, correct them with the vertical transform tool in your RAW editor.
What camera settings work best for an indoor corridor?
Manual mode, f/8, ISO 100, RAW format, a custom Kelvin white balance and whatever shutter speed the exposure requires on a tripod, typically between half a second and a few seconds. Bracket your exposures if the hallway has both dark corners and a bright window or doorway.
Can I photograph a hallway properly with a phone?
Yes. Use the main 1x camera rather than the ultra-wide where possible, enable the grid and level, shoot in RAW or ProRAW, rest the phone on a small tripod at chest height, and tap to lock focus and exposure. Keep the phone perfectly vertical to avoid converging walls.
Should I shoot a hallway vertically or horizontally?
Shoot both. A vertical 4:5 frame suits tall, narrow corridors and performs better on social platforms, while a horizontal frame is usually requested for websites, listings and portfolio layouts. Compose the vertical version first, because it is the harder of the two to get right.
Final Thoughts
Knowing how to photograph a hallway comes down to five repeatable decisions: stand on the centre line, use a sensible focal length rather than the widest one you own, lock the camera level at chest height, give the eye a destination at the far end, and light the corridor with bounced, directional light instead of flat flash. Get those right and even a 90 cm wide corridor with no windows will read as an elegant, considered part of the home.
At Acanthus Design Interiors, we treat hallways as transition spaces worth designing and worth photographing properly. If you are planning a hallway renovation or need your finished project captured for a portfolio, get in touch with our team and we will help you design a corridor that looks as good through a lens as it does in person.