

Stained glass windows are among the most challenging subjects in architectural photography. The extreme contrast between glowing colored panels and the dark stone interiors of churches and cathedrals fools most cameras, resulting in blown highlights, washed-out reds, or muddy blues that look nothing like what your eyes see.
At Acanthus Design Interiors, we work with heritage spaces regularly, and documenting stained glass properly is part of the job. This guide gives you six concrete camera settings that work with entry-level DSLR or mirrorless bodies, plus practical field tips for shooting in real church conditions.
Why Stained Glass Is So Hard to Photograph
The problem is dynamic range. A backlit stained glass window can be 10 to 15 stops brighter than the surrounding interior walls. If you expose for the room, the glass turns into a white blur. If you expose for the glass, the room becomes pure black (which is actually often what you want).
The second problem is color accuracy. Auto white balance gets confused by the mix of daylight coming through colored glass and warm tungsten or LED interior lighting, so reds shift orange and cool blues turn gray.
Gear You Actually Need
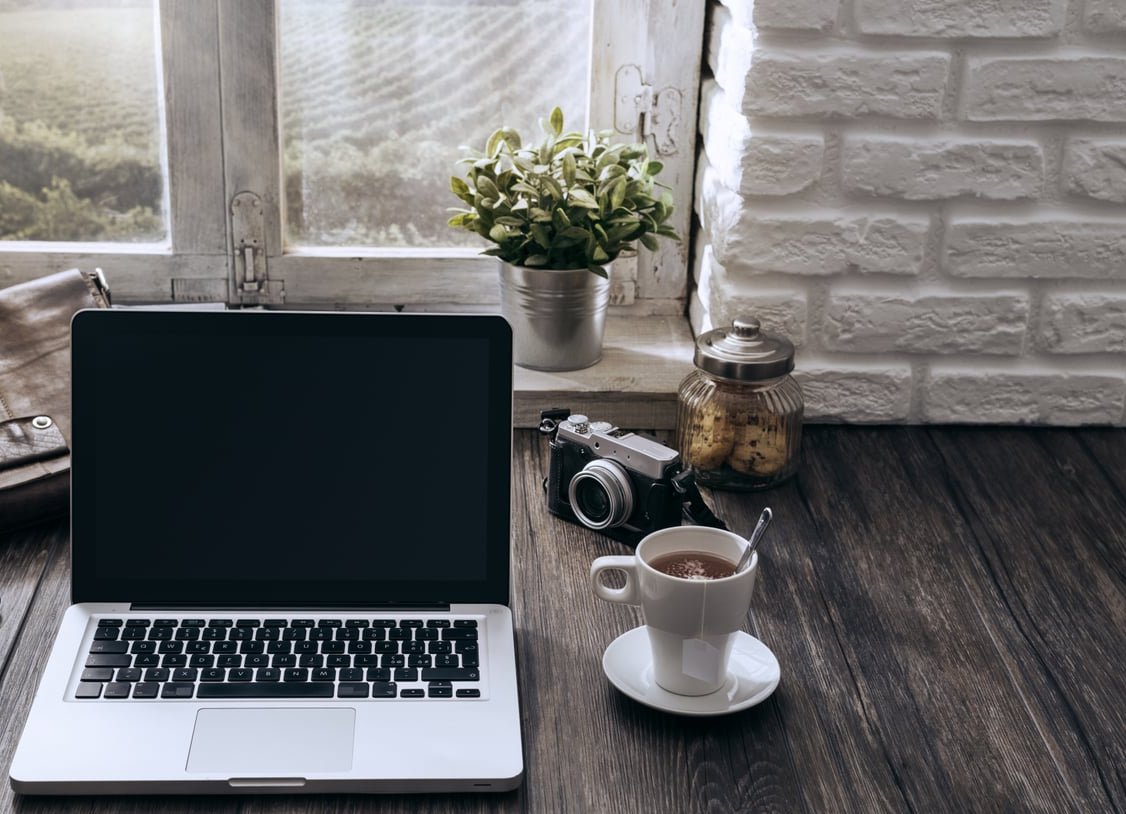
You do not need professional gear. An entry-level kit works fine if you set it up correctly.
- Any DSLR or mirrorless body capable of shooting RAW
- A standard zoom (18-55mm) for wider window scenes
- A telephoto (55-250mm or 70-300mm) for isolating high windows and detail panels
- A tripod, essential for slow shutter speeds inside dim naves
- A polarizing filter (optional but useful to cut reflections on protective outer glazing)
- A remote release or 2-second self-timer to avoid shake
The 6 Settings That Make the Difference
1. Shoot in RAW, Always
JPEG compresses tonal information and locks in the white balance. RAW gives you the headroom to recover a red rose window that looks slightly hot, or to warm up a cold blue panel in post. This single decision matters more than any other.
2. Use Spot Metering on the Brightest Colored Pane
Evaluative and matrix metering average the whole scene, which is why your windows keep blowing out. Switch to spot metering and meter directly on one of the brightest colored areas (usually a yellow or pale blue). Then dial in -0.3 to -0.7 exposure compensation to protect the highlights.
3. Set a Fixed ISO Between 200 and 400
Auto ISO tends to push too high in dim churches. Lock ISO manually. Because the window itself is bright, you rarely need ISO above 400 when metering for the glass, even in a dark cathedral.
4. Aperture at f/8 to f/11 for Sharpness Across the Panel
Stained glass has fine leadwork and painted detail. Stopping down to f/8 or f/11 keeps everything crisp corner to corner and avoids the softness of wide-open apertures on entry-level lenses.
5. Shutter Speed: Let the Tripod Do the Work
With ISO locked and aperture set for sharpness, shutter speed becomes your exposure variable. Expect anywhere from 1/60s in bright morning light to 1 or 2 seconds on overcast afternoons. A tripod is not optional here.
6. White Balance: Manual, Not Auto
Set white balance to Daylight (around 5500K) as your starting point. This matches the light passing through the window from outside. If the interior lights are contaminating the scene, either turn them off (ask the sacristan) or shoot at a time when they are not needed. Auto white balance will lie to you every time.

Real-World Settings Cheat Sheet
Here are starting points we use on actual shoots. Adjust based on your light meter.
| Scene | ISO | Aperture | Shutter | WB | Comp. |
|---|---|---|---|---|---|
| Sunny morning, east-facing rose window | 200 | f/11 | 1/125s | 5500K | -0.7 |
| Overcast midday, nave window | 400 | f/8 | 1/30s | 6000K | -0.3 |
| Late afternoon, west window with warm sun | 200 | f/11 | 1/250s | 5200K | -1.0 |
| Cloudy day, small chapel window | 400 | f/8 | 1s (tripod) | 6500K | 0 |
Composition and Positioning
Even perfect exposure fails if the geometry is off. A few rules:
- Line up dead center. Stand directly opposite the window and align your camera on the central vertical axis. Off-axis shots produce keystoning that is very obvious with strong leadwork.
- Keep the sensor plane parallel to the glass. Level the camera in both horizontal and vertical planes using the built-in electronic level.
- Use a longer focal length for high windows. A telephoto shot from a distance produces less distortion than a wide-angle from directly beneath.
- Frame tight. Excluding the surrounding stone wall (usually rendered black anyway) puts full attention on the glass.

Timing: When to Shoot
Light quality changes everything. The best window is a window with bright but diffused daylight behind it, ideally a bright overcast sky. Direct sun creates hot spots that overpower nearby panels, while a fully gray day produces flat, dull color.
- East-facing windows: shoot before 11:00 AM
- South-facing windows: avoid midday direct sun, prefer morning or late afternoon
- West-facing windows: best from about 15:00 onwards
- North-facing windows: usable all day, with the softest and most even light
Post-Processing: Where the Colors Come Back
RAW files often look slightly muted straight out of camera. That is normal. In Lightroom, Capture One or any RAW editor:
- Pull Highlights down by around -30 to recover any hot yellows or whites
- Lift Shadows only slightly (or not at all) to keep the leadwork dark and graphic
- Increase Vibrance before touching Saturation, this preserves skin-tone-adjacent hues better
- Use the HSL panel to tune individual colors: reds often need +5 saturation and -5 luminance to feel deep and rich
- Correct verticals with the Transform tool if you could not shoot perfectly on-axis
Common Mistakes to Avoid
- Using flash. It reflects off the surface and destroys the transmitted color. Never use flash on stained glass.
- Trusting auto white balance. It will average the colors of the window itself and shift everything toward gray.
- Handholding at slow speeds. Blurred leadwork ruins otherwise good frames.
- Shooting through protective wire mesh without a plan. Use a telephoto at wide aperture to blur the mesh out, or shift your position slightly.
- Forgetting to ask permission. Many churches allow photography but restrict tripods. A quick email in advance avoids problems on the day.
Bonus: Shooting Stained Glass with a Smartphone
If a phone is all you have, modern devices can do surprisingly well:
- Tap and hold on the brightest colored area to lock exposure
- Drag the exposure slider down until the color looks saturated on screen
- Shoot in the phone’s RAW or ProRAW format if available
- Turn off HDR, it tends to lift shadows and flatten the drama
- Steady the phone against a pew or column instead of handholding
FAQ
What is the best time of day to photograph stained glass windows?
Mid-morning or mid-afternoon on a bright but overcast day gives the most even and saturated results. Direct sun creates hot spots, while fully gray weather produces dull colors.
Should I use a polarizing filter on stained glass?
Only if the window has an outer protective glazing that is causing reflections. On bare stained glass, a polarizer has little effect and just costs you light. Test with and without.
Why do my stained glass photos always look duller than reality?
Two reasons. First, JPEG mode locks in a flat rendering. Second, most cameras overexpose the glass by half a stop or more, which desaturates the colors. Shoot RAW and dial in negative exposure compensation.
Can I photograph stained glass without a tripod?
In very bright conditions yes, but for anything under 1/60s you will see softness in the leadwork. A small tabletop tripod or a monopod is a good compromise where full tripods are not permitted.
How do I stop reflections on the glass surface?
Move slightly off-axis, use a lens hood, wear dark clothing to avoid reflecting yourself into the shot, and if allowed, dim any interior lights that are creating glare.
What white balance should I use for stained glass?
Start with Daylight (5500K) since the light source is the sun outside. Adjust warmer or cooler in RAW post-processing based on how the interior lighting affected the scene.
Final Thought
Photographing stained glass well is not about expensive gear. It is about controlling the exposure for the glass itself, using manual white balance, shooting RAW, and taking the time to align your camera properly. Once those habits are locked in, even a basic kit will produce images that do justice to windows made centuries ago by hands that never imagined a camera would ever look through their work.